STRÖM – a working title and a glimpse into the digitalization process.
After a period of less activity than usual in my analog photography, I'm moving forward again.
Right now, I'm focusing on two different projects. One is close to being finished (more on that in a future post), and the other is a work in progress. In northern Sweden, many major rivers are dammed. My latest project focuses on this topic with images from Sweden's most productive (2256 GWh/year) hydroelectric power plant, Stornorrfors, on the Ume River. So far, there are only a few images. Currently, I'm waiting for a photo permit to access a location within the fenced area of the facility.
It's heavily snowing today, so I'm not out in the field. Instead, I'm treating myself to a nice cup of coffee and have just digitized some images from the project I mentioned.
I haven't decided on a project name yet. It could be STRÖM – which is the Swedish word for both running water and electricity. Anyway, I thought it would be fun to show a bit of my digitization process, and I've tried to write something about it below.

The dam at the Stornorrfors hydroelectric power plant.
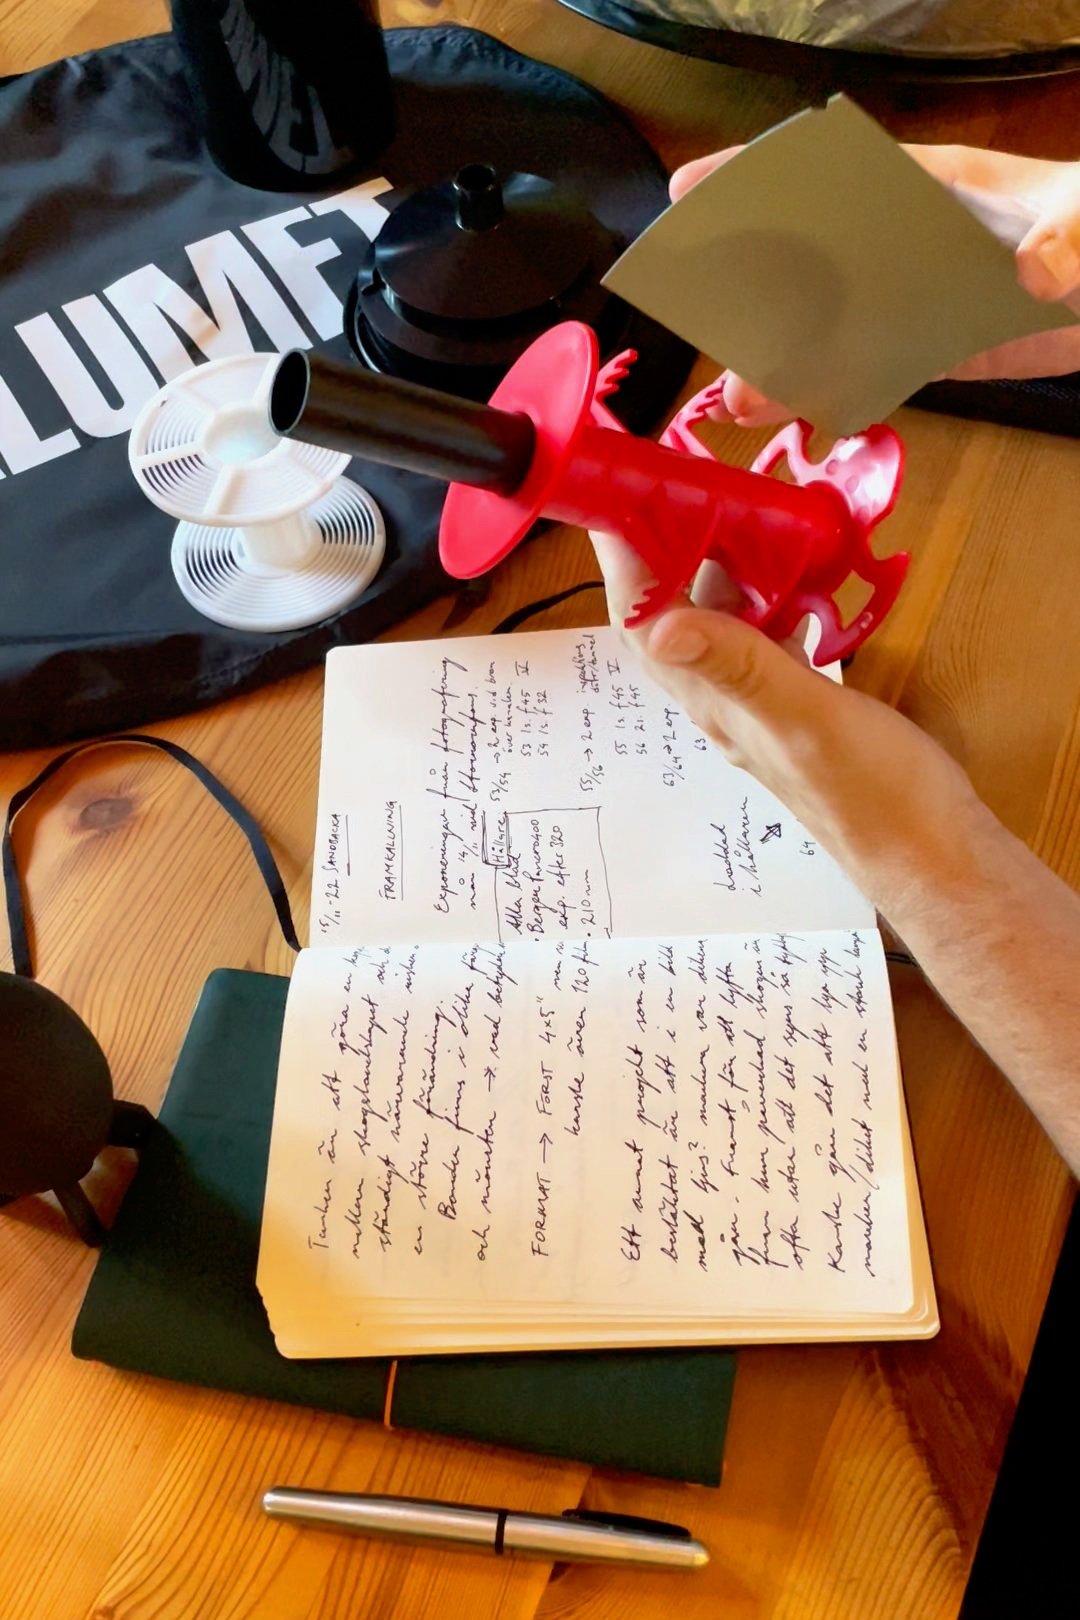
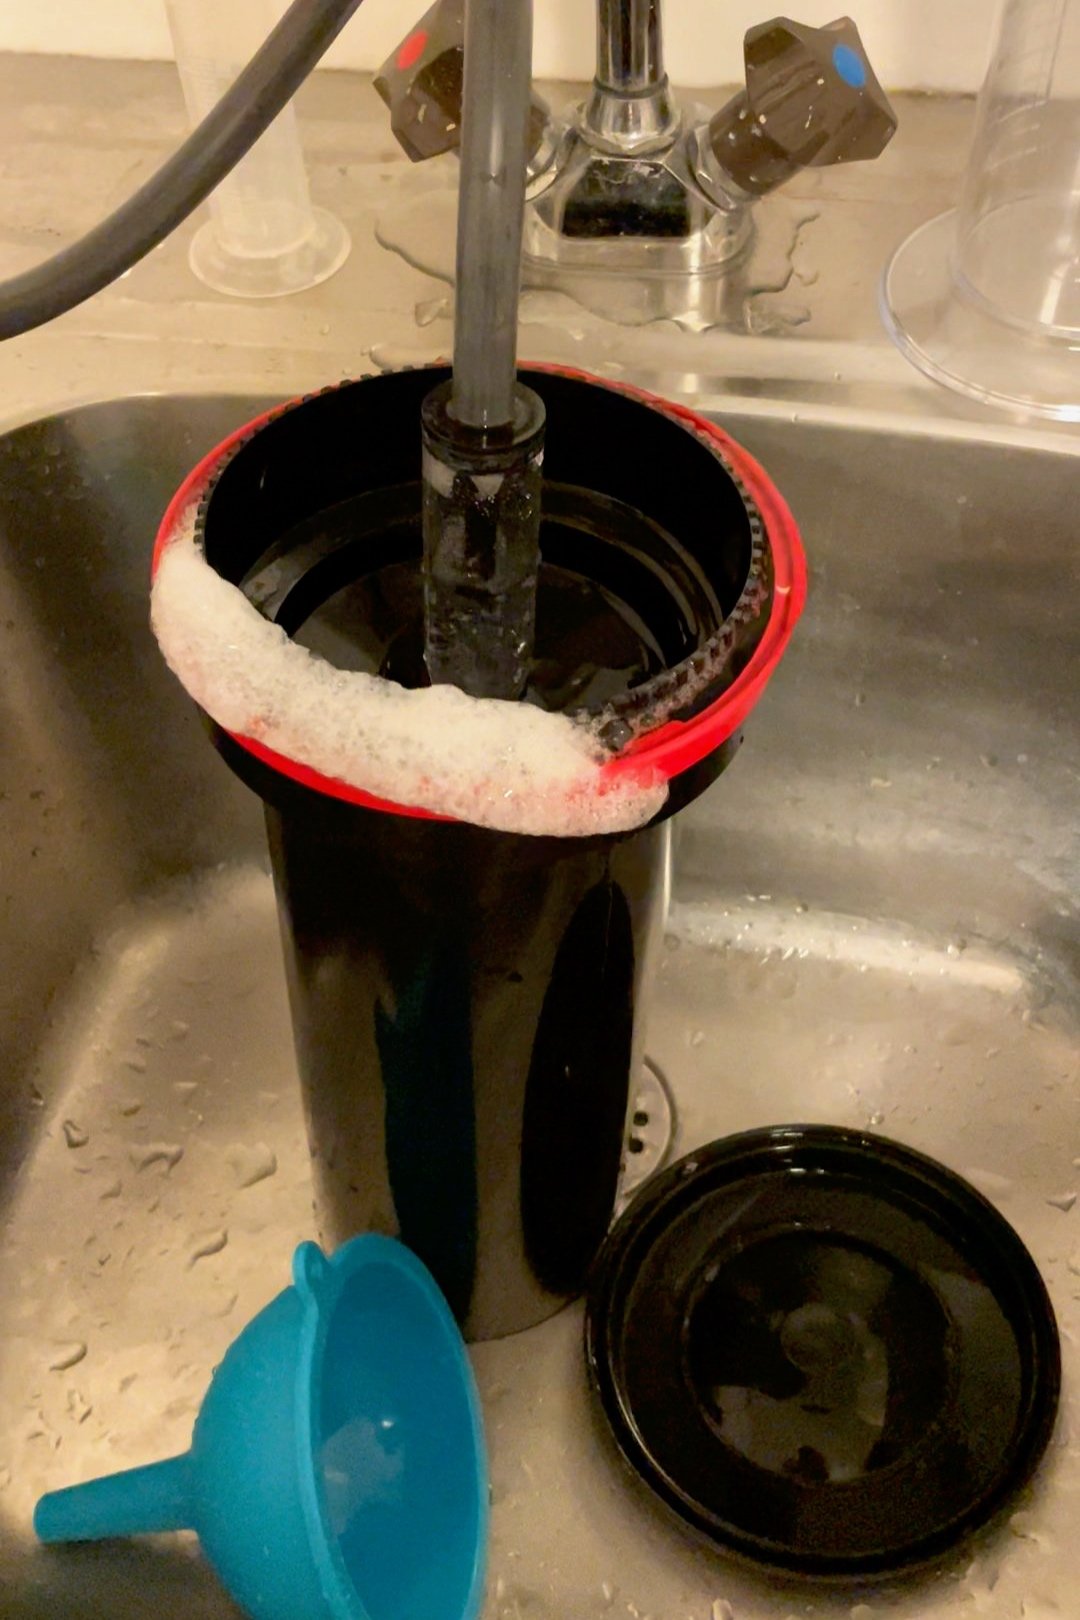
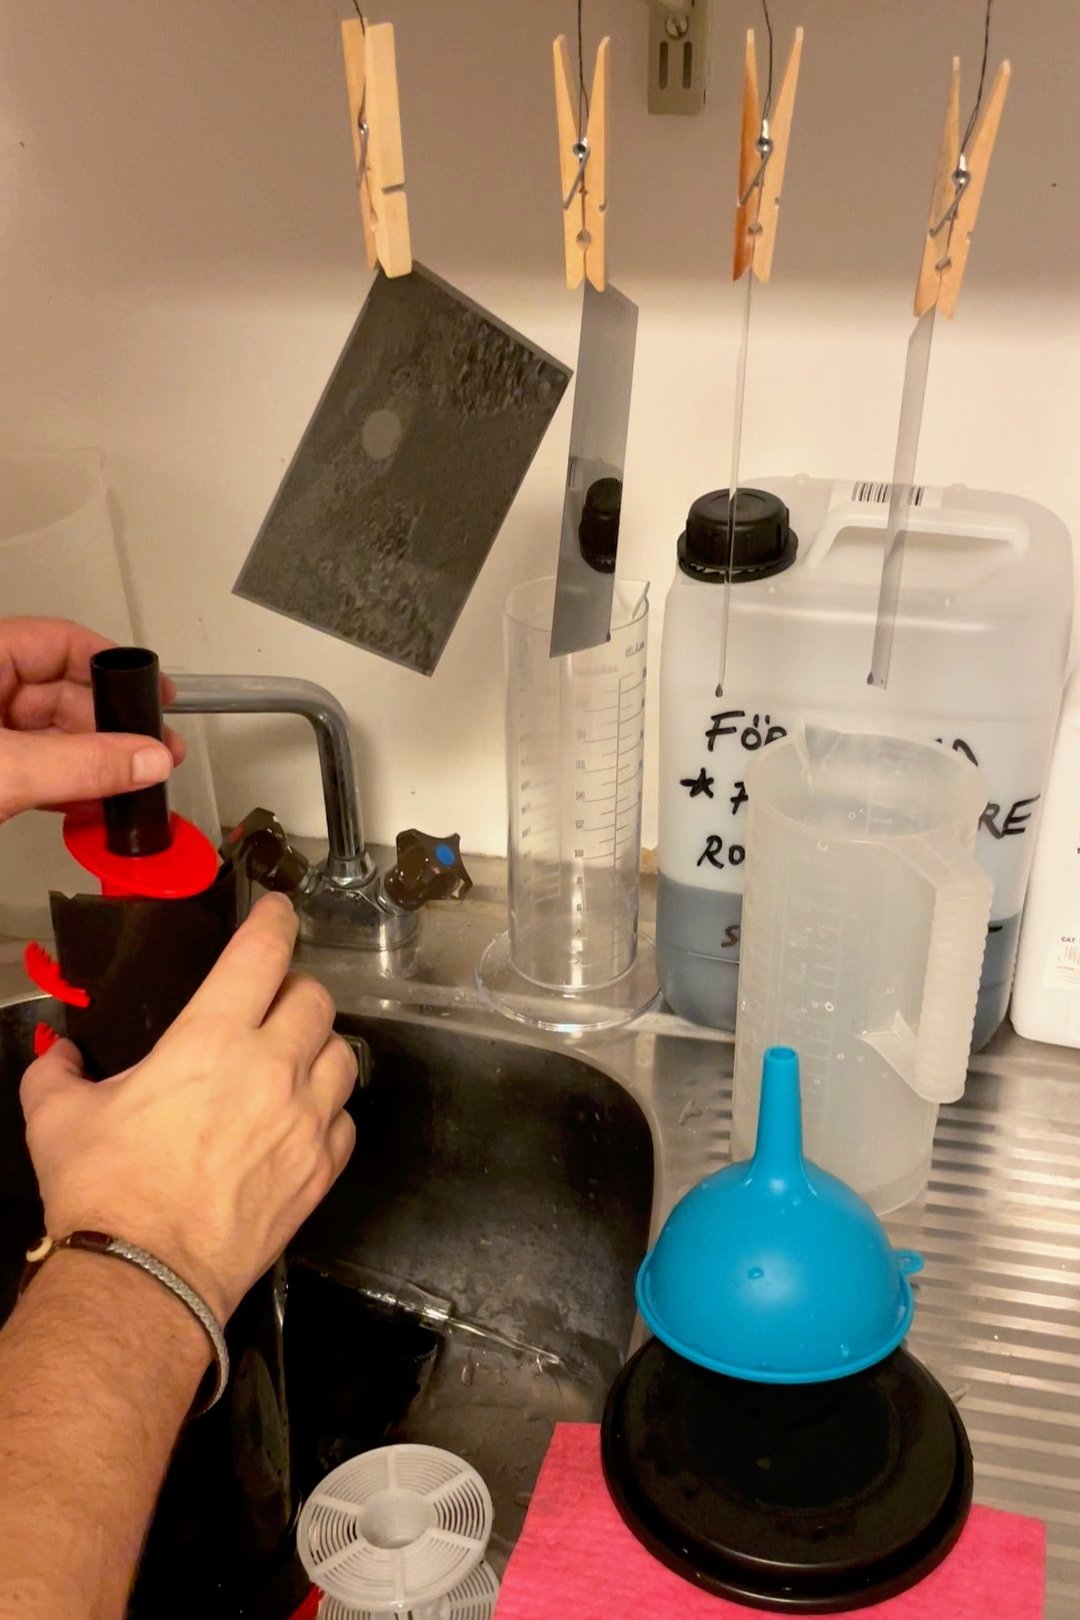
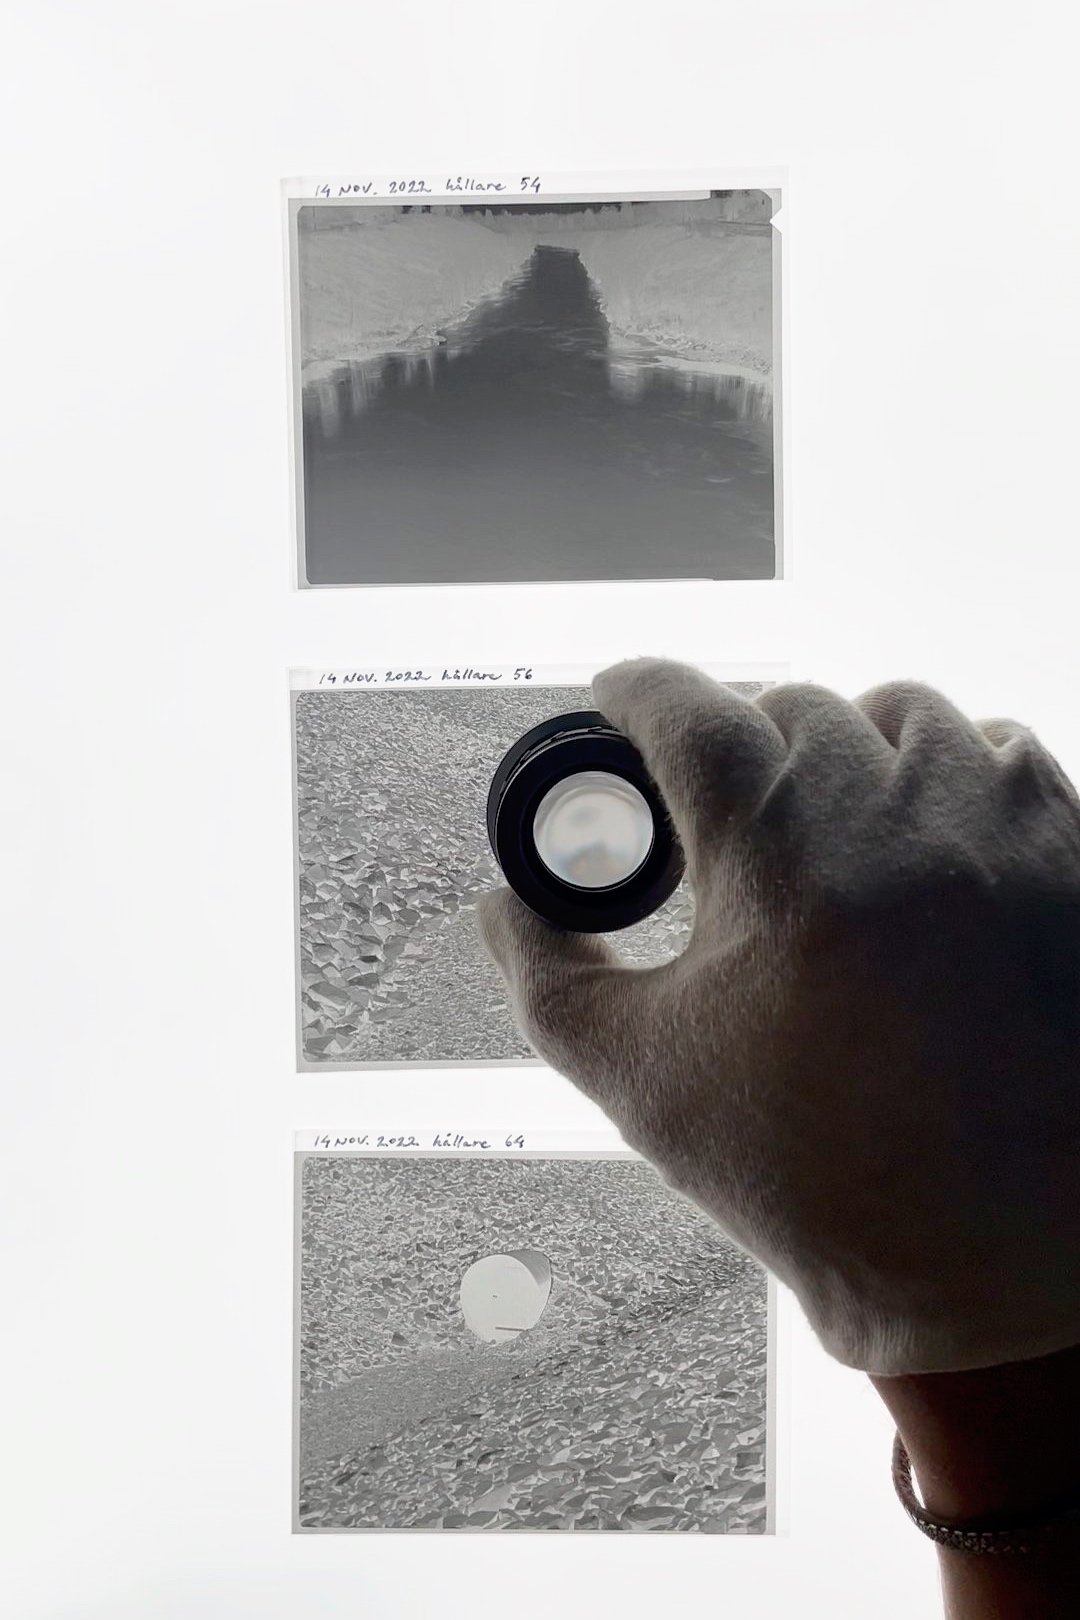
Most of the time, I develop my black and white films myself. I would (someday) like to develop my own color films, but for the moment, I don't have the possibility. These exposures are from my latest field trip. I developed them with a reliable old Paterson tank. The standard configuration for a Paterson tank is up to medium format (120 films), but I have an aftermarket holder for 4x5 sheet film (mod54). It's quite fiddly to load, but everything has worked for me so far. The procedure is simple, first the developer, then a stop bath followed by a fixer. When the film is no longer light-sensitive, it's time for a stabilization bath and a thorough rinse. After rinsing and drying each negative, I place them on my light table. They mustn't be too thin because thin negatives lack information and can't produce good images.
On the other hand, dark negatives aren't good either. But they have an advantage compared to thin negatives: they still have all the information. A little harder to bring out, but it's still there.
When I photograph with a large format camera, I always check the light with a spot meter to determine which time and aperture to use. I usually use a technique loosely based on the zone system, which was partly formulated by Ansel Adams. He described it as a codification of the principles of sensitometry. The zones are represented by numbers from 0 to X in Roman numerals with different luminance values, 0 representing black, V middle gray, and X pure white. The trick is to place your exposure within this range to have information in both the dark areas (the thin parts of the negative) and highlights. It's about utilizing the film's dynamic range. I won't go deeper into light metering and exposures, the post will get way too long. So I'll save that for another time.
So now we have some negatives that are correctly exposed and developed. It's time to get out the loupe at the light table to check if the sharpness is as expected. When that's done, selected negatives can be scanned and digitized.
Some compressed film clips from a screen recording during the digitization process.